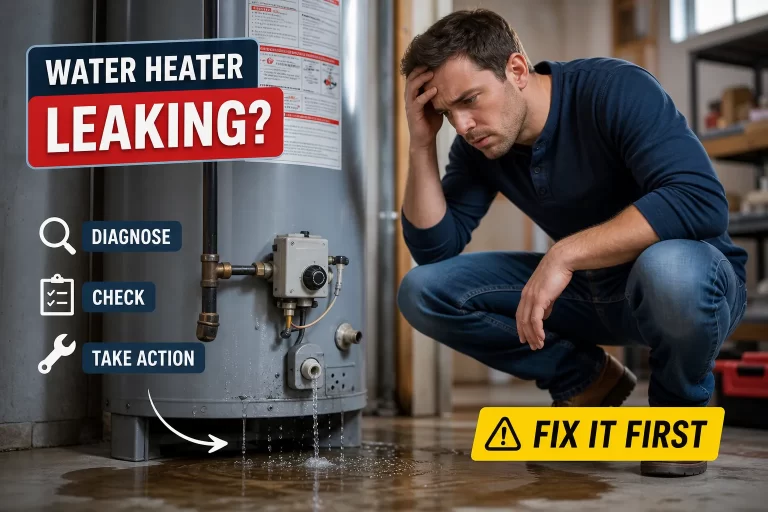
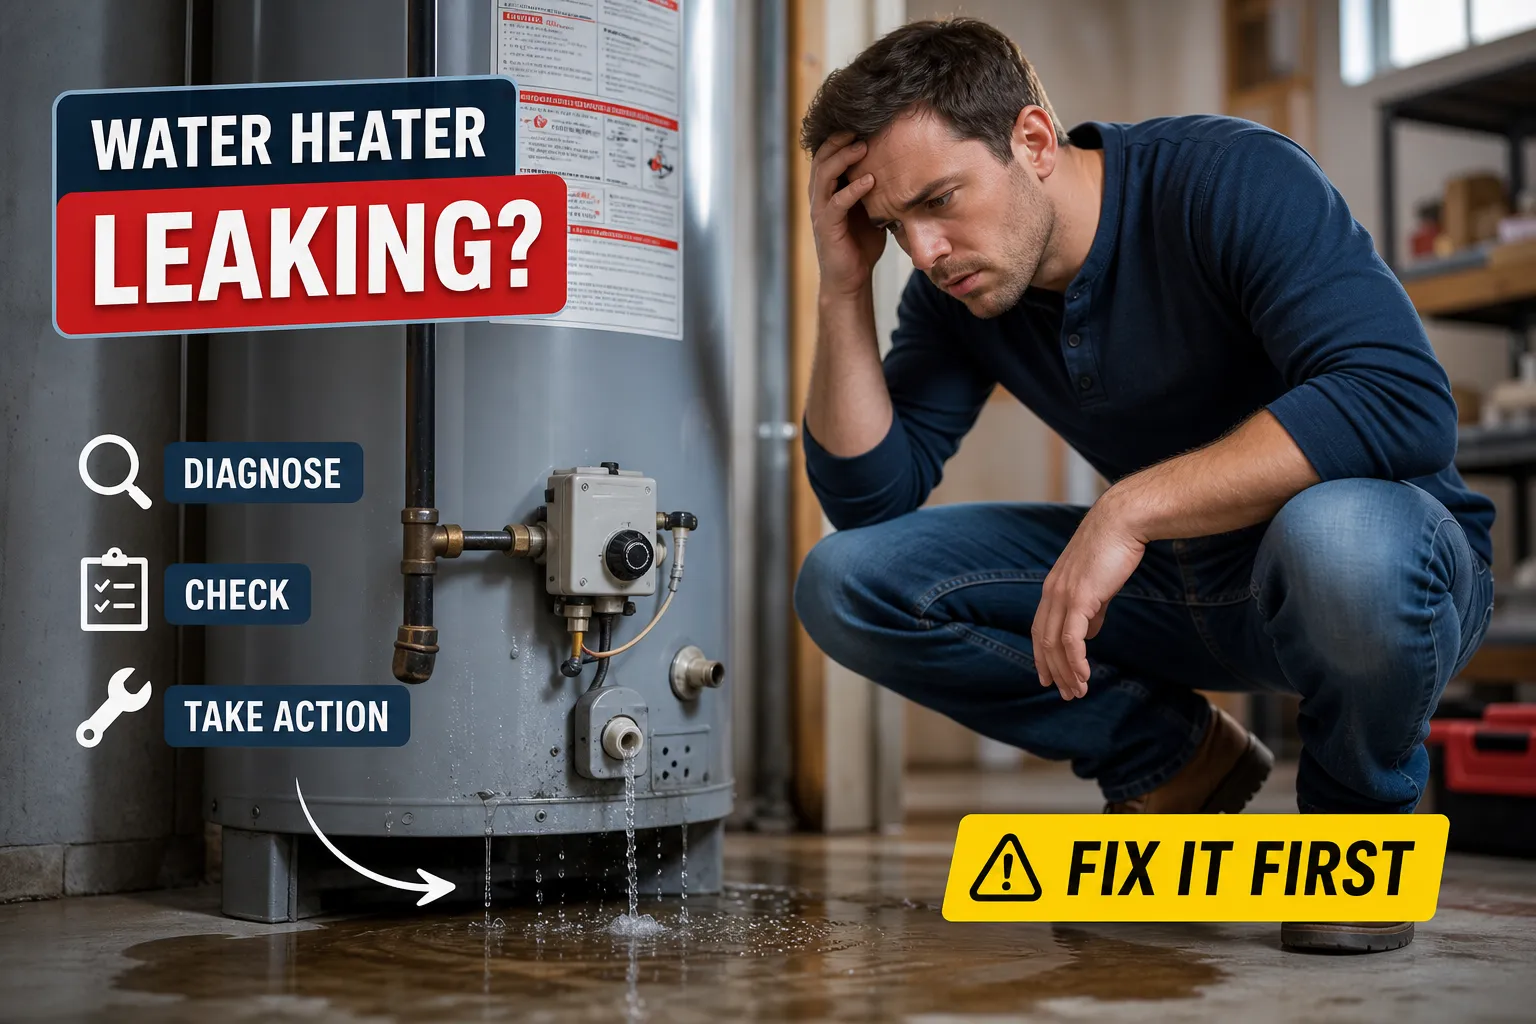
A water heater leaking from the bottom is alarming, but the right move is to stay calm and work through the diagnosis methodically rather than panic. A puddle under the tank can be as simple as a loose drain valve that costs $15 to fix, or as serious as a corroded tank that needs to come out today. Knowing which situation you’re dealing with determines your repair bill, your timeline, and whether you pick up a wrench or pick up the phone.
This guide covers every common cause of a water heater leaking at the base, a reliable at-home diagnostic method, the DIY repairs that actually hold up, honest cost estimates, and a clear framework for deciding between repair and replacement. For homeowners in Los Angeles, Orange County, and San Francisco, The 5 Star Plumbing is ready to help when the situation calls for a licensed hand rather than a hardware store run.
What This Guide Covers
- What’s actually causing the leak at the base
- First steps when you spot water under the tank
- How to find exactly where the leak is coming from
- DIY fixes and what they actually cost
- Less common causes worth ruling out
- Repair or replace: how to make the right call
- Frequently asked questions
What’s actually causing the leak at the base of your water heater
Most people assume the worst the moment they see a water heater leaking from the bottom. In reality, the cause almost always falls into one of four main categories, and three of them are fixable without replacing the unit. Understanding the distinction upfront helps you approach this calmly and avoid expensive guesswork.
The fixable culprits: drain valve, fittings, and condensation
The drain valve sits near the bottom of the tank and is the first component to inspect when water collects at the base. If the valve spigot drips or the threaded connection seeps, you’re dealing with a valve problem, not a tank problem. Loose inlet and outlet fittings at the top of the heater can also send water running down the exterior, pooling at the base in a way that convincingly mimics a more serious leak. Condensation is a third possibility, especially in humid conditions or during the first heat cycle of the day; the tank sweats on the outside rather than leaking from a single fixed point.
The serious one: internal tank corrosion
Inside every steel tank, an anode rod slowly sacrifices itself to prevent rust from forming. When that rod depletes without replacement, the steel tank wall begins to corrode from the inside out. Once corrosion breaches the tank wall, water seeps through the lower seam or tank body, and that leak cannot be patched. A key warning sign is rusty or brownish hot water at your fixtures; that discoloration is iron from a tank that has already begun to fail internally. We cover that symptom in more depth in our guide to water heater odors, discoloration, and gas smells.
A quick visual ID guide
With a water heater leaking from the bottom, the pattern of returning moisture is the clue. Towel the area completely dry and observe what happens over the next 30 minutes. Watch where moisture returns first, because each pattern points to a specific cause.
- Wetness at the drain valve spigot or threads — drain valve failure.
- Wetness at the discharge pipe outlet — T&P relief valve issue.
- Even moisture across the tank exterior — condensation, not a true leak.
- Wetness at the lower tank seam or body — internal corrosion, and likely replacement.
First steps when you spot water under the tank
When you find a water heater leaking from the bottom, stop the situation from escalating before you diagnose anything. A small leak can cause substantial water damage if the unit keeps running under full pressure. Run through the shutoff sequence below before touching anything else on the unit.
Shutting off a gas water heater safely
Turn the thermostat control knob to the “Pilot” or “Off” position on the gas valve. Then locate the gas shutoff valve on the supply line running to the unit; when the handle sits perpendicular to the pipe, the gas is closed. If you smell gas at any point during this process, stop immediately, leave the house without operating any light switches or appliances, and call your gas utility from outside.
Cutting power to an electric water heater
Go to your electrical panel and flip off the dedicated circuit breaker for the water heater. Confirm it’s fully in the “off” position before approaching the unit again. An electric heater with an active heating element in a leaking tank is a shock hazard, and skipping this step before any hands-on inspection is not an option.
Cutting the water supply and relieving pressure
Close the cold-water inlet valve above the tank. It’s usually a gate valve or ball valve on the cold pipe feeding the unit. Open a hot-water faucet inside the house to relieve pressure and let air into the system. If you need to empty the tank, attach a garden hose to the drain valve at the base, run it to a floor drain or outdoors, and open the valve slowly. Never restore power or gas to the unit while the tank is empty — running a heating element or burner without water destroys it immediately.
How to find exactly where the leak is coming from
Once the unit is safe, a five-minute diagnostic tells you exactly which kind of water heater leaking from the bottom you’re dealing with. The most common mistake homeowners make is replacing the first part they see without confirming it’s actually the source, which wastes money and leaves the real problem in place.
The paper towel diagnostic method
Dry the entire tank exterior, the base, and the surrounding floor as thoroughly as possible. Place dry paper towels or cloth rags at four specific locations: the drain valve and its threaded connection, the T&P discharge pipe outlet, the inlet and outlet fittings at the top of the tank, and the lower tank seam and base. Wait 30 to 60 minutes, then check which towel absorbed moisture and where the wetness is centered. A wet towel at the drain valve points to a valve problem; moisture at the discharge pipe points to a T&P issue; even dampness across the exterior points to condensation; a wet towel at the tank seam with no fitting above it points to internal corrosion.
What the water’s color tells you
Collect a small sample of the pooled water in a white cup or clear glass and hold it up to the light. Rusty or brownish water strongly suggests the corrosion is internal; clearer water appearing at a specific valve or fitting is consistent with an external, repairable source. A metallic smell alongside discoloration is a reliable secondary signal that the tank itself has begun to fail, not just a surface component. Sediment can produce related symptoms too — if you’ve also noticed banging or rumbling, see what water heater noises actually mean.
Water heater leaking from the bottom: DIY fixes and what they actually cost
If the paper towel test confirms the leak is external, several repairs are well within reach on a weekend afternoon. Below is what each one involves and what to budget realistically so there are no surprises at the hardware store.
Replacing a faulty drain valve
Close the cold-water supply, drain the tank completely using a garden hose, and use a pipe wrench to unthread the old valve from its fitting. Wrap the threads of the new valve with Teflon tape, thread it in by hand, then tighten firmly without over-torquing. Parts cost runs $10 to $30. Choose a brass ball-valve replacement over the plastic OEM valve that likely came with the unit — higher-quality brass valves cost a bit more upfront but tend to outlast plastic alternatives and reduce the risk of repeat failures.
Tightening fittings and flushing sediment buildup
Tighten the flex-line connections at the inlet and outlet with an adjustable wrench and inspect for mineral buildup around the joints. If the connections were slightly loose, that fix costs nothing in parts. A sediment flush — running a hose from the drain valve until the discharge water runs clear — can be completed for the cost of a garden hose and an hour of time. If you’d rather hire it out, our water heater flush service handles it, and in California a professional flush typically runs $110 to $200. Flushing the tank annually is one of the highest-return maintenance tasks you can do; many manufacturers and plumbing authorities recommend it to reduce sediment buildup and help extend the unit’s service life, though results vary with local water quality.
Realistic cost comparison
A straightforward breakdown before deciding whether to DIY or call someone:
- Drain valve replacement (DIY) — $10 to $30 in parts.
- Fitting tightening — $0 if no parts are needed; $5 to $15 if a fitting needs replacing.
- Sediment flush — near zero out of pocket as a DIY job; $110 to $200 for professional service in California.
- Professional repair callout for external leaks — varies by region and job complexity; get a written quote before authorizing work.
These numbers look completely different from full tank replacement costs, which is exactly why confirming the leak source before spending money is worth the 30 minutes it takes. For a deeper breakdown of individual repair pricing, see our water heater repair guide.
Less common causes worth ruling out
The four categories above account for most cases, but a handful of other faults produce the same puddle and are worth checking before you conclude the tank has failed.
- Excess pressure from thermal expansion. Water expands as it heats. On a closed plumbing system with nowhere for that expansion to go, pressure climbs until it forces water out at the weakest point — often a fitting or the relief valve. A correctly sized expansion tank is the fix, not a new heater.
- A failed T&P relief valve. The temperature and pressure relief valve is a safety device designed to discharge when either gets too high. If it weeps continuously, either the valve itself has failed or it is doing its job because system pressure is genuinely too high — and those are two very different repairs. Never plug or cap a discharging T&P valve.
- A cracked expansion tank. Where a supplementary tank is fitted, mineral buildup can open hairline cracks in it over time. The resulting drip lands near the water heater and reads as a heater leak.
- A depleted anode rod port. Once the anode rod is fully consumed, water can seep out around the port it threads into, not only through corroded tank wall. Replacing the rod on schedule prevents both this and the internal corrosion described above.
- Heavy sediment. Beyond the noise and efficiency loss, a thick sediment layer causes uneven heating of the tank floor, which over years can stress the lining and open cracks. This is the long-term argument for annual flushing.
Left alone, any of these will do real damage: even a slow drip can ruin flooring, subfloor and drywall, and standing water invites mould. That is the case for acting on a small leak now rather than watching it.
Repair or replace: how to make the right call
Some cases of a water heater leaking from the bottom mean a $20 part. Others mean the tank has days left. Making the right call saves you from either throwing money at a dying unit or replacing something that had years of service remaining. Repair jobs typically cost a fraction of a full replacement, so the diagnostic step isn’t just useful — it’s where you protect your budget.
Signs the tank has failed beyond repair
Replace the unit if any of the following conditions apply:
- Water is seeping from the tank body or lower seam with no fitting directly above it.
- Hot water at your fixtures runs rusty or brown consistently.
- The tank is over 10 to 12 years old with visible exterior corrosion.
- The tank bottom is visibly bulging.
Internal corrosion cannot be patched. Once the steel wall is breached, the structural integrity of the tank is compromised and the only safe solution is a new unit. Attempting to seal a corroded tank body is not a recognized fix and creates a flooding and scalding risk. If you’re weighing the age question generally, our post on how long water heaters last covers what to expect from a healthy unit.
What replacement actually costs in 2026
In Los Angeles, current cost data puts water heater replacement at an average of about $1,740, with a typical range of $1,140 to $2,410. Broken out by type, tank-style units run roughly $775 to $3,275 installed and tankless units $1,850 to $5,100. Straightforward like-for-like swaps sit at the lower end; jobs requiring code upgrades, new gas line connections, or seismic strapping land at the top of the range or beyond. Variables include tank size, fuel type, and local permit requirements. Our water heater replacement guide itemises the add-on costs most quotes leave off — permits, disposal, expansion tanks, and the California-required seismic strapping that an unstrapped install will fail inspection without.
When to call a licensed plumber
If the leak is coming from the tank body itself, if you can’t fully close a shutoff valve, if you smell gas, or if any step above feels outside your comfort level, call a licensed plumber rather than pressing forward. The cost of a flooded utility room or a failed tank under pressure far outweighs the money saved by guessing. For homeowners across Los Angeles, Orange County, and San Francisco, The 5 Star Plumbing handles emergency plumbing, same-day inspections, and full water heater replacement with code-compliant installation. The team has been handling these exact situations since 2006 across residential and commercial properties, and maintenance plans are available to help prevent the next leak before it starts.
The bottom line on water heater leaks at the base
A water heater leaking from the bottom is stressful, but working through it in the right sequence makes it manageable. Shut off power and water first. Run the paper towel test to confirm the source. Fix what’s fixable — drain valve, fittings, sediment flush — and replace what isn’t, specifically a tank leaking from its own body or seam. The biggest mistake homeowners make is ignoring a small drip until it becomes a flooded utility room or a burst tank.
A water heater leaking from the bottom is not always a replacement job, but it is never a wait-and-see job. If your unit is over a decade old and showing signs of rust, don’t invest repair money into borrowed time. An inspection now costs far less than an emergency call after the tank fails completely. Get in touch with The 5 Star Plumbing for water heater repair across the Los Angeles, Orange County, and San Francisco areas. Whatever the unit needs — repair, replacement, or a maintenance check — the team can assess the situation and give you a straight answer.
Frequently asked questions: water heater leaking from the bottom
How do I stop a water heater leaking from the bottom immediately?
Shut off the cold-water supply valve above the tank, then cut power to the unit (flip the circuit breaker for electric units) or turn the gas valve to “Pilot” or “Off.” This stops the leak from worsening while you diagnose the source. Do not skip the shutoff step, even if the drip looks minor.
Can a leaking water heater tank be repaired?
It depends on the source. External leaks — a faulty drain valve, loose fittings, or a T&P discharge issue — can often be repaired at low cost. A tank leaking from its own body or lower seam due to internal corrosion cannot be patched and requires full replacement.
How long does a water heater last before it starts leaking?
Most standard tank water heaters have a service life of 8 to 12 years. Units older than 10 years with visible rust or persistent leaks are generally better candidates for replacement than repair, since the cost of repairs on an aging tank rarely makes financial sense.
Is a small leak at the bottom of a water heater dangerous?
Yes — even a small leak warrants prompt attention. A drip that goes unaddressed can worsen quickly, leading to water damage, mold growth, or a sudden tank failure. If the leak originates from the tank body rather than a valve, the risk is higher and replacement should not be delayed.
What does it mean if the water coming out is rusty or brown?
Rusty or brownish hot water is a strong indicator of internal tank corrosion. Iron is leaching from the deteriorating steel wall into your water supply. This typically signals that the tank is nearing the end of its usable life and should be evaluated by a licensed plumber.
How much does it cost to fix a water heater leaking at the base?
If the source is a faulty drain valve, the DIY parts cost is typically $10 to $30. Loose fittings may cost nothing to tighten. A full tank replacement in Los Angeles averages around $1,740, with a typical range of $1,140 to $2,410 depending on the unit and the installation. Getting a written quote from a licensed plumber is the best way to pin down the cost for your specific situation.
Sources: Angi — Water Heater Replacement Cost, Los Angeles CA (2026) · Family Handyman — Water Heater Leaking · A. O. Smith — How to Drain a Water Heater · Rheem — Water Heater Lifespan