Handheld showers are a bathroom essential — but they all share one frustrating flaw: sooner or later, they develop a leak right at the hose connection. The good news? You don’t need to call a plumber or buy a brand new shower head. In most cases, you can fix this problem in just a few minutes with tools you likely already have at home.
Whether the leak is at the front or back of the hose, this guide walks you through exactly how to diagnose and repair it for good.
Where Is the Leak Coming From?
The most common location for a handheld shower leak is the connection point between the shower head and the hose. Before you grab any tools, try this first:
Grab the shaft and turn it clockwise (to the right). Sometimes the collar simply becomes loose over time, and hand-tightening it is all you need. If that solves the drip, you’re done! If not, keep reading — the fix is still simple.
Step-by-Step: How to Fix a Leaking Handheld Shower Hose
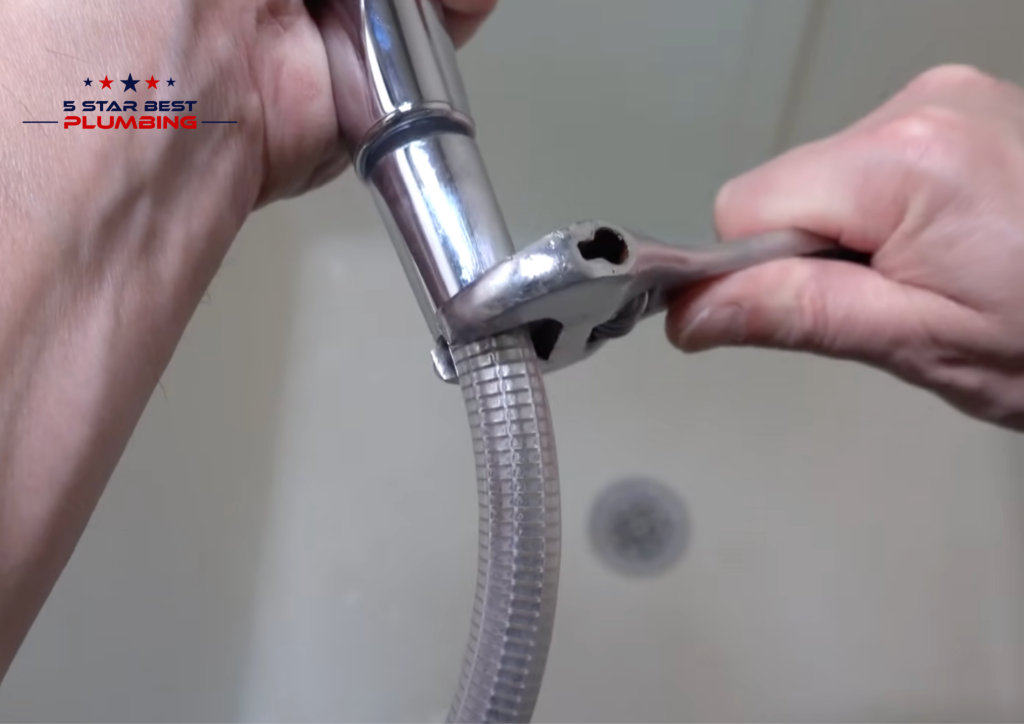
Step 1: Remove the Collar
Unscrew the collar that connects the hose to the shower head. Trying to do this by hand can be a struggle since it’s often on very tight.
Important: Don’t use pliers or tools with sharp teeth — they’ll damage and tear the collar.
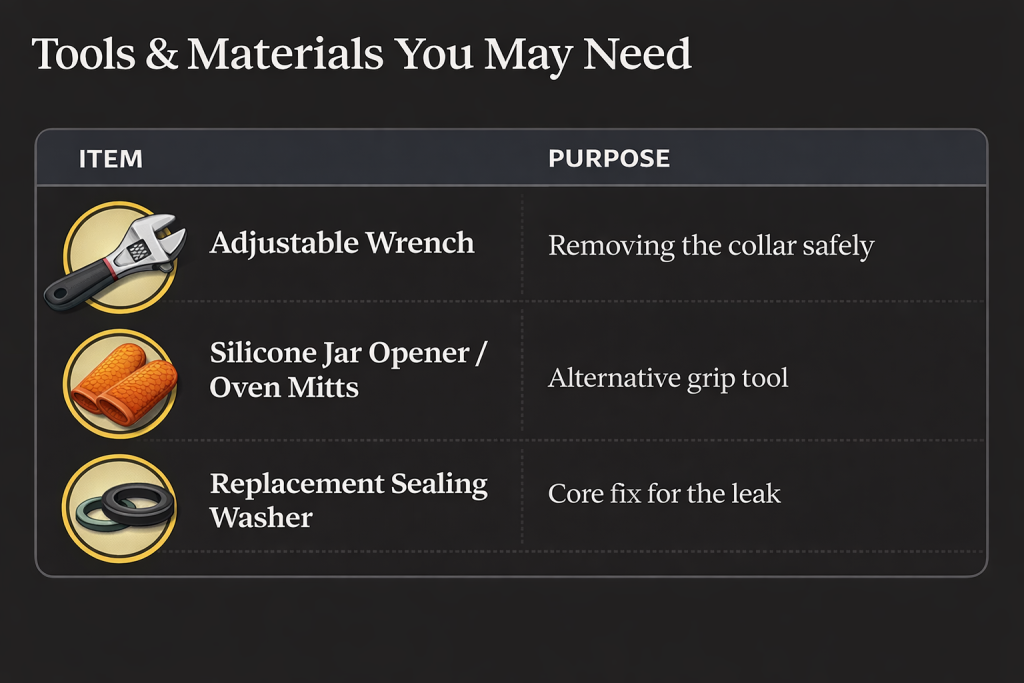
The right way to do it: Look for two flat spots built into the collar. These are designed to work with an adjustable wrench, which has flat jaws that grip without causing damage. Slide the wrench onto those flat spots and twist — the collar should come right off.
No adjustable wrench? No problem. Use a silicone jar opener or silicone oven mitts. Grip the collar tightly and turn the shower head with your other hand. These give you plenty of grip without any risk of damage.
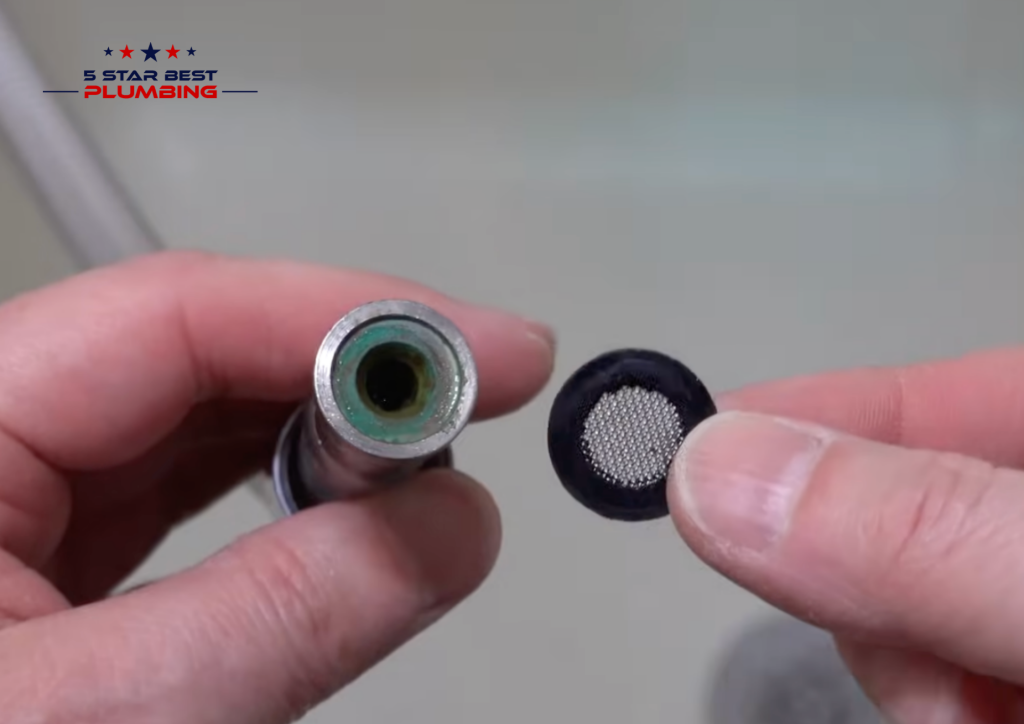
Step 2: Inspect the Sealing Washer
Once the collar is removed, look inside. You’ll find a small black rubber ring — this is called the sealing washer. This tiny component is responsible for keeping everything watertight, and it’s almost always the culprit behind your leak.
To remove it, slide the collar down the hose and the washer will pop out on its own.
Step 3: Fix or Replace the Washer
You have two options here:
Option 1 — Flip It Over (Old Plumber’s Trick) Simply flip the washer over before reinserting it. The underside provides a fresh sealing surface and can stop the leak without buying anything new. Try this first.
Option 2 — Replace It If flipping doesn’t work, take the old washer to your local hardware store (Home Depot, Lowe’s, or any plumbing supplier) and ask them to match it with a replacement. Don’t worry if the new washer doesn’t include a screen — many shower heads on the market don’t have one at all.
Step 4: Check the Hose End
While you have everything apart, inspect the end of the hose for any large cracks or chips. Minor wear is normal, but significant damage means you’ll need to replace the hose or the entire shower head unit.
Step 5: Reseat the Washer
Work the washer back into the end of the hose. It can be a tight fit, so push it around the threads carefully until it’s completely seated and sitting flush.
6. Run water through every unused drain
Any drain that goes unused for several weeks — guest bathroom sinks, floor drains, utility room sinks — can dry out its P-trap seal and allow sewer gas into your home. Before summer guests arrive, run every tap for 30 seconds and pour a cup of water into every floor drain to restore the barrier.
Step 6: Screw the Collar Back On
Thread the collar back onto the shower head by hand. Here’s what not to do:
- Don’t use Teflon tape
- Don’t use sealing paste
- Don’t use a wrench to tighten it — you risk over-tightening and cracking the shower head
The washer alone creates the watertight seal. Hand-tight is sufficient. You can use a silicone jar opener for a little extra grip if needed, especially if your shower head doesn’t have those flat spots for a wrench.
Step 7: Test for Leaks
Turn the water back on and check all connection points. If the repair was done correctly, you should have zero leaks. If dripping persists, try replacing the washer with a new one from the hardware store — that should permanently solve the problem.
Conclusion
A leaking handheld shower hose is one of the easiest bathroom repairs you can do yourself. In most cases, a worn sealing washer is all that’s standing between you and a perfectly functioning shower — and a replacement costs less than a dollar at any hardware store. No plumber, no special skills, no hassle.
Try the flip trick first, and if that doesn’t work, grab a replacement washer. Either way, your leak should be history in under 10 minutes.
FAQs
Why is my handheld shower leaking at the hose connection?
The most common cause is a worn or misaligned sealing washer inside the collar. Over time, the rubber degrades and loses its ability to create a watertight seal.
Do I need Teflon tape to fix a shower hose leak?
No. The sealing washer is the only thing creating the seal at this connection. Adding Teflon tape or plumber’s paste is unnecessary and won’t improve the repair.
Can I fix a leaking shower hose without any tools?
In many cases, yes. If the collar is slightly loose, hand-tightening it may stop the leak immediately. If you need to remove the collar, a silicone jar opener or oven mitts can work as a tool-free alternative to a wrench.
How do I know what size replacement washer to buy?
Remove the old washer and bring it with you to the hardware store. Staff at Home Depot or Lowe’s can match it by size on the spot.