
That constant drip, drip, drip coming from your kitchen or bathroom faucet isn’t just annoying — it’s costing you real money. A leaky faucet dripping at just one drip per second wastes more than 3,000 gallons of water per year. That’s water you’re paying for without ever using. The good news is that knowing how to fix a leaky faucet is one of the most useful home repair skills you can have — and in many cases, it’s a straightforward job that doesn’t require a call to a plumber.
In this guide, we’ll walk you through everything you need to know to fix a leaky faucet fast — the tools you’ll need, the different types of faucets and valves, and step-by-step instructions for getting that drip under control for good.
Why Is My Faucet Leaking?
Before you can fix a leaky faucet, it helps to understand what’s causing it. Most faucet leaks come down to one of these common causes:
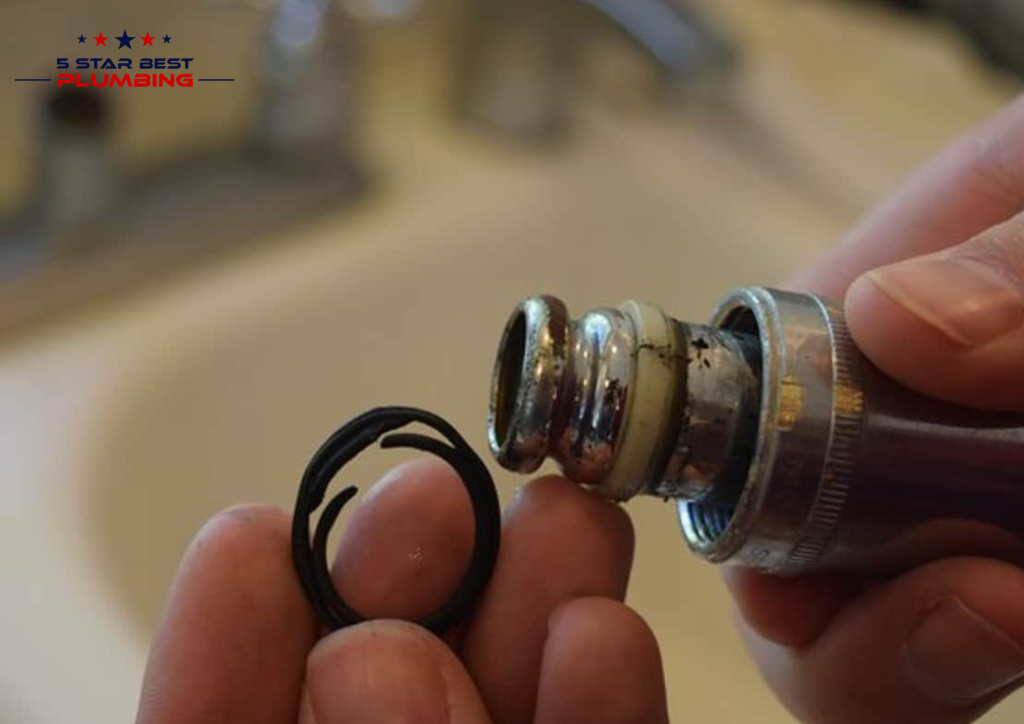
Worn out O-rings. O-rings are small rubber rings that create a watertight seal around the stem of your faucet. Over time they degrade, harden, and crack — causing water to leak around the handle.
Damaged cartridge. Cartridge faucets use a cartridge inside the handle to control water flow. When the cartridge wears out or cracks, it can cause dripping at the spout or leaking at the base of the handle.
Worn washers. Compression faucets use rubber washers that press against a valve seat every time you turn the handle. The constant friction wears these washers down over time, eventually causing a leak at the spout.
Corroded valve seat. The valve seat connects the faucet to the spout. When sediment accumulates around the valve seat, it can cause corrosion that leads to leaking around the spout area.
Loose packing nut. The packing nut holds the stem in place inside the faucet body. When it loosens over time, water can seep out around the handle stem.
Understanding which of these is causing your leak will help you purchase the right replacement parts and fix the problem correctly the first time.
Step 1: Turn Off the Water Supply
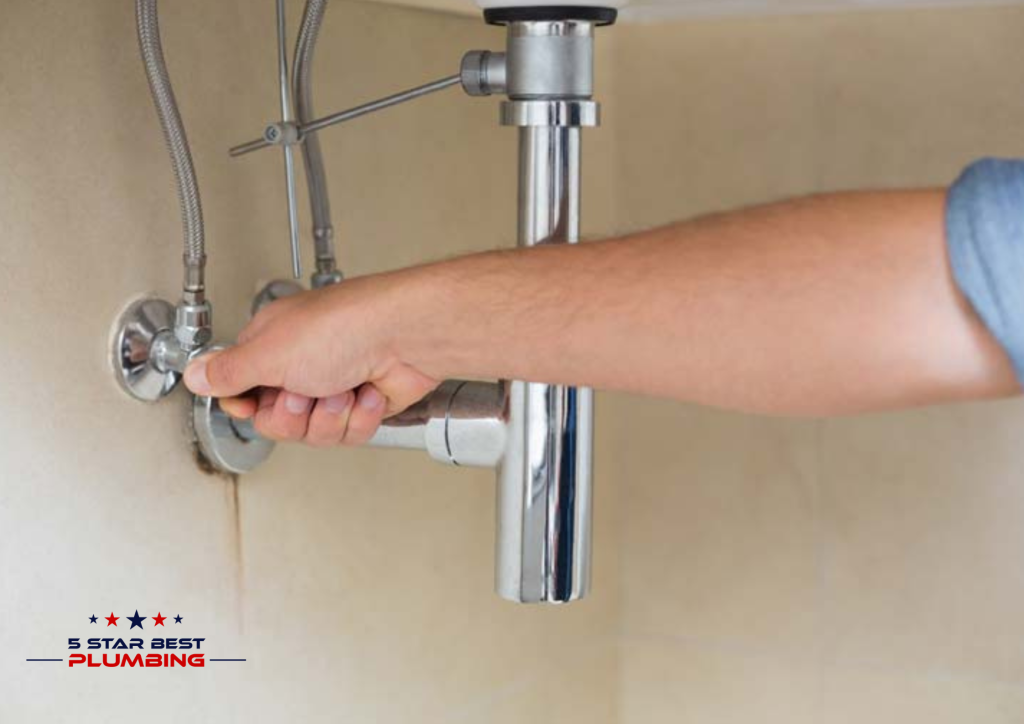
This is the most important step and one that many first-time DIYers skip — with messy consequences. Before touching anything, turn off the water supply to the faucet you’re repairing. The shutoff valves are typically located directly under the sink. Turn them clockwise until they stop.
If your sink doesn’t have individual shutoff valves, you’ll need to turn off the main water supply to your home. Once the water is off, turn on the faucet to release any remaining pressure and water in the line.
Don’t forget to plug the drain with a stopper or a rag before you start disassembling anything. Tiny components like screws, O-rings, and washers have a way of finding their way down the drain at the worst possible moment.
Step 2: Identify Your Faucet Type
Not all faucets are the same, and the repair process varies depending on what type of faucet you have. Here are the most common types you’ll encounter:
Compression Faucets
Compression faucets are the oldest and most common type found in older homes. They have two separate handles — one for hot and one for cold — and use rubber washers to control water flow. When you turn the handle, it compresses the washer against the valve seat to stop the water. Compression faucets are the most prone to leaking because the rubber washer wears down with regular use. The fix typically involves replacing the worn washer or O-ring.
Ball Faucets
Ball faucets have a single handle that moves over a rounded ball-shaped cap. They’re common in kitchen sinks and use a ball mechanism with springs and rubber seats to control water flow. When a ball faucet leaks, it’s usually due to worn springs, seats, or O-rings inside the ball assembly. Repairing a ball faucet requires replacing several small components, which is why many homeowners opt to purchase a complete ball faucet repair kit.
Cartridge Faucets
Cartridge faucets can have one or two handles and use a cartridge inside the handle to regulate water flow. They’re one of the most common faucet types found in modern homes and are generally straightforward to repair. The most common fix is simply replacing the cartridge, which is available at any hardware store for most faucet brands.
Ceramic Disc Faucets
Ceramic disc faucets have a single lever that moves over a wide cylindrical body. They use two ceramic discs that slide against each other to control water flow. Ceramic disc faucets are highly durable and rarely leak, but when they do, the fix usually involves cleaning or replacing the ceramic disc cylinder.
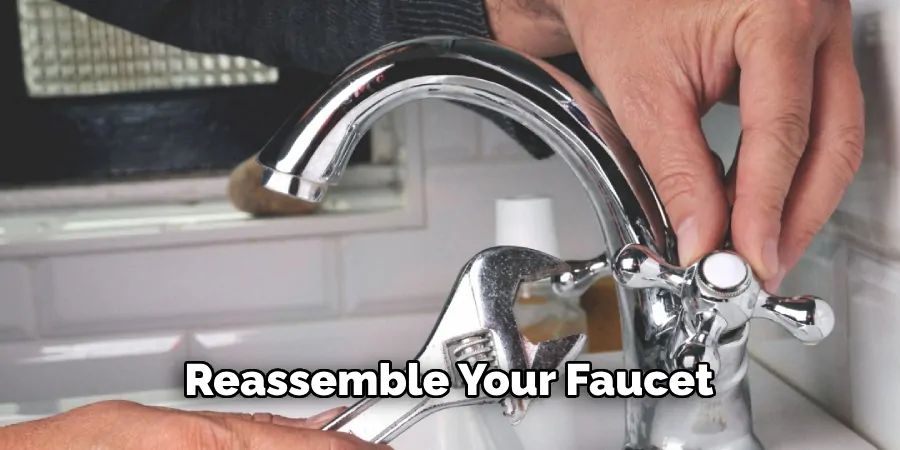
Step 5: Reassemble and Test
With the new parts installed, it’s time to put everything back together. Reverse the disassembly steps, making sure each component is seated correctly before proceeding to the next. Don’t overtighten any screws or connections — this can crack ceramic components and strip threads.
Once everything is reassembled, slowly turn the water supply back on and test the faucet. Turn it on and off several times and check for any remaining drips or leaks around the handle or base. If the leak has stopped, congratulations — you’ve successfully fixed your leaky faucet!
If the leak persists after reassembly, the valve seat inside the faucet body may be corroded or damaged. At this point, it’s best to call a licensed plumber rather than attempting further DIY repairs, as a damaged valve seat requires specialized tools to resurface or replace.
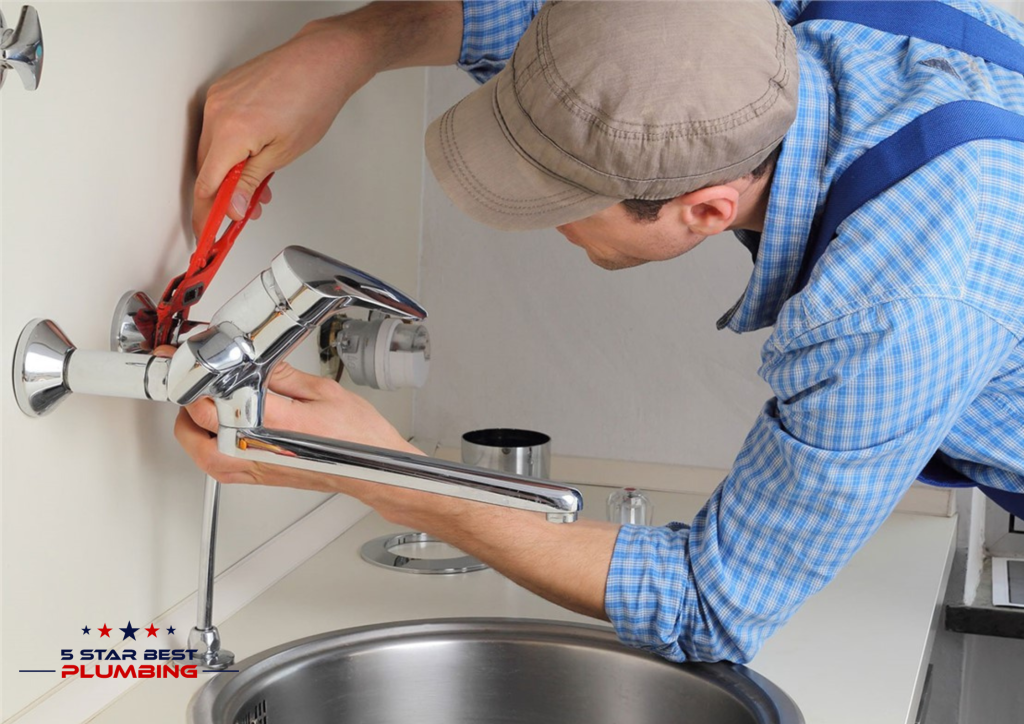
When to Call a Professional Plumber
While many leaky faucets can be fixed with basic tools and a little patience, there are situations where calling a licensed plumber is the smarter choice:
- The leak is coming from inside the wall or under the floor rather than from the faucet itself
- You’ve replaced the faulty parts but the leak persists
- The faucet is so old that replacement parts are no longer available
- The valve seat is corroded or damaged
- You’re not comfortable disassembling the faucet or working with plumbing components
- The leak is significant enough to be causing water damage
Attempting repairs beyond your skill level can turn a minor drip into a major plumbing problem. When in doubt, a licensed plumber can fix the issue quickly, correctly, and at a fraction of the cost of water damage repair.
Contact The 5 Star Plumbing today at (888) 909-0120 for fast, professional faucet repair. We serve homeowners throughout the Los Angeles area — 24 hours a day, 7 days a week.
FAQs
How long does it take to fix a leaky faucet?
Most DIY repairs take 30 minutes to 2 hours. A licensed plumber can typically complete the job in under an hour.
How much does it cost to fix a leaky faucet?
DIY parts cost $5 to $30. Professional faucet repair typically ranges from $100 to $250 depending on the faucet type and complexity.
Should I repair or replace a leaky faucet?
If the faucet is relatively new, repair is almost always the right choice. If it’s old, parts are hard to find, or the valve seat is damaged, replacement may be more cost-effective.
Can a leaky faucet cause water damage?
Yes. A slow drip under a sink can saturate the cabinet floor, promote mold growth, and cause wood rot over time. Address leaks as soon as you notice them.

